The CloudAhoy App provides a convenient way to log flight data, with a single click, the data is automatically uploaded into CloudAhoy. In addition, it provides a way to import flight data from ForeFlight, Garmin Pilot, and other EFBs. And – you can debrief your flight directly in the CloudAhoy App on your device, within minutes after landing.
CloudAhoy App V6.0 is now available on the App Store. This new version has been rebuilt from the ground up using state-of-the-art technology. It has a new look, and a few enhancements. More enhancements will follow soon.
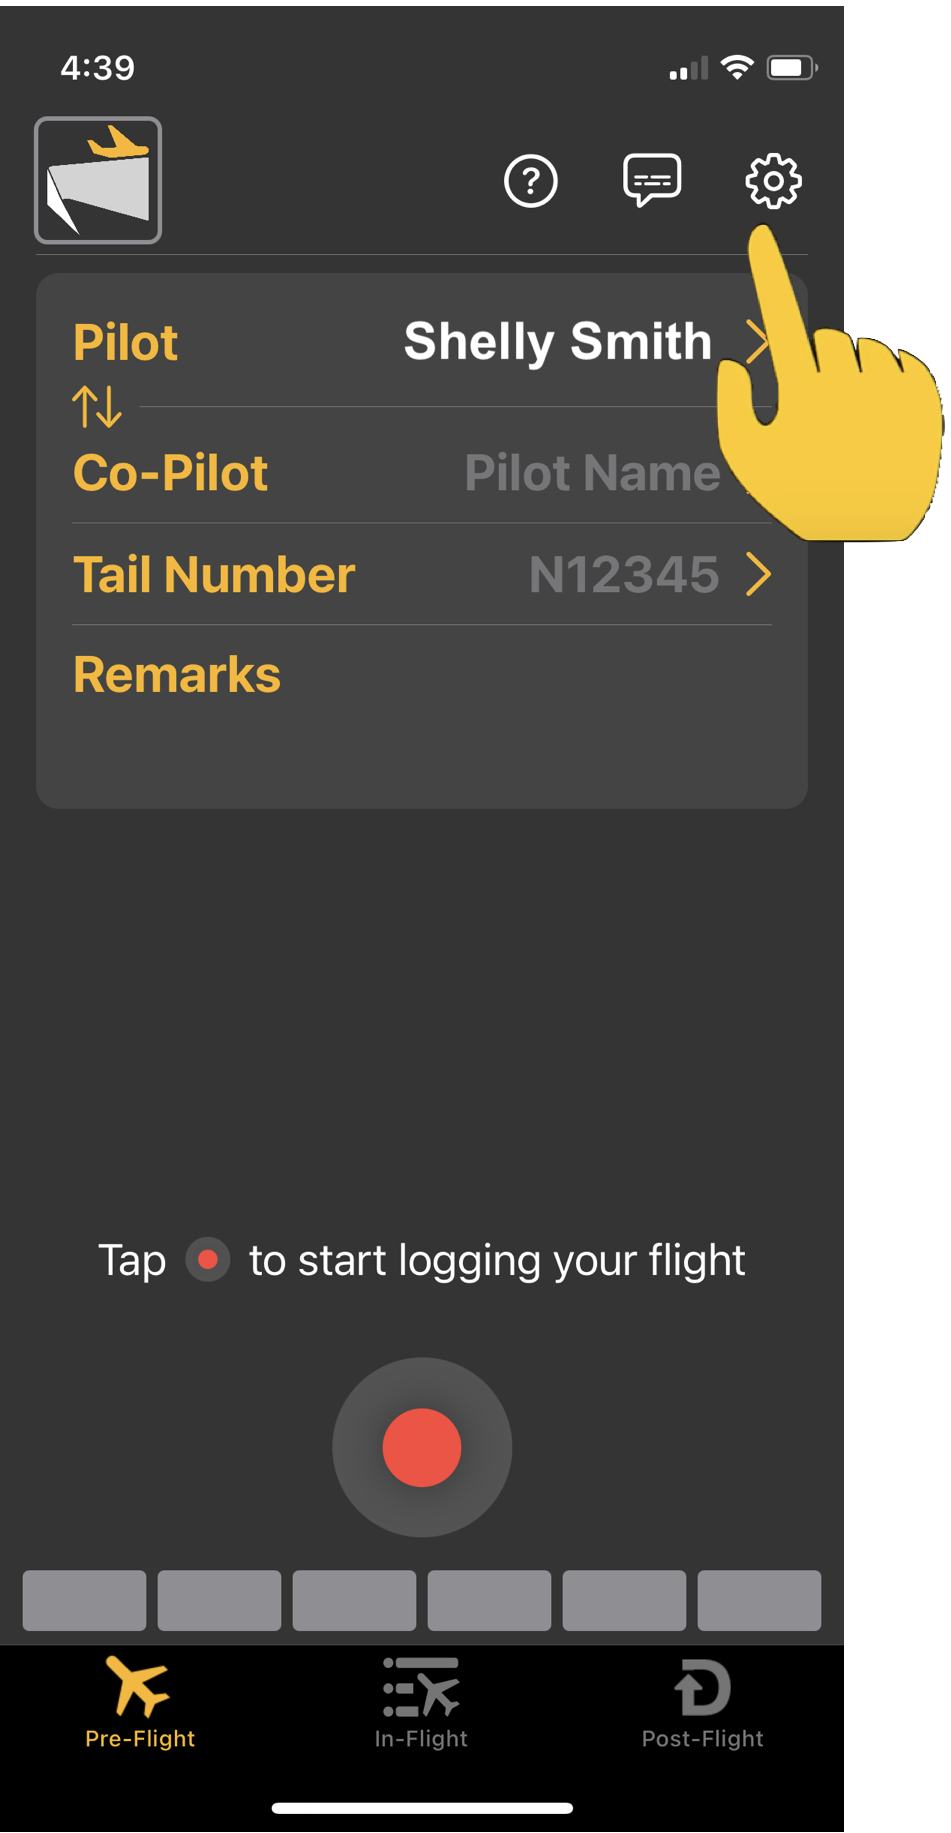
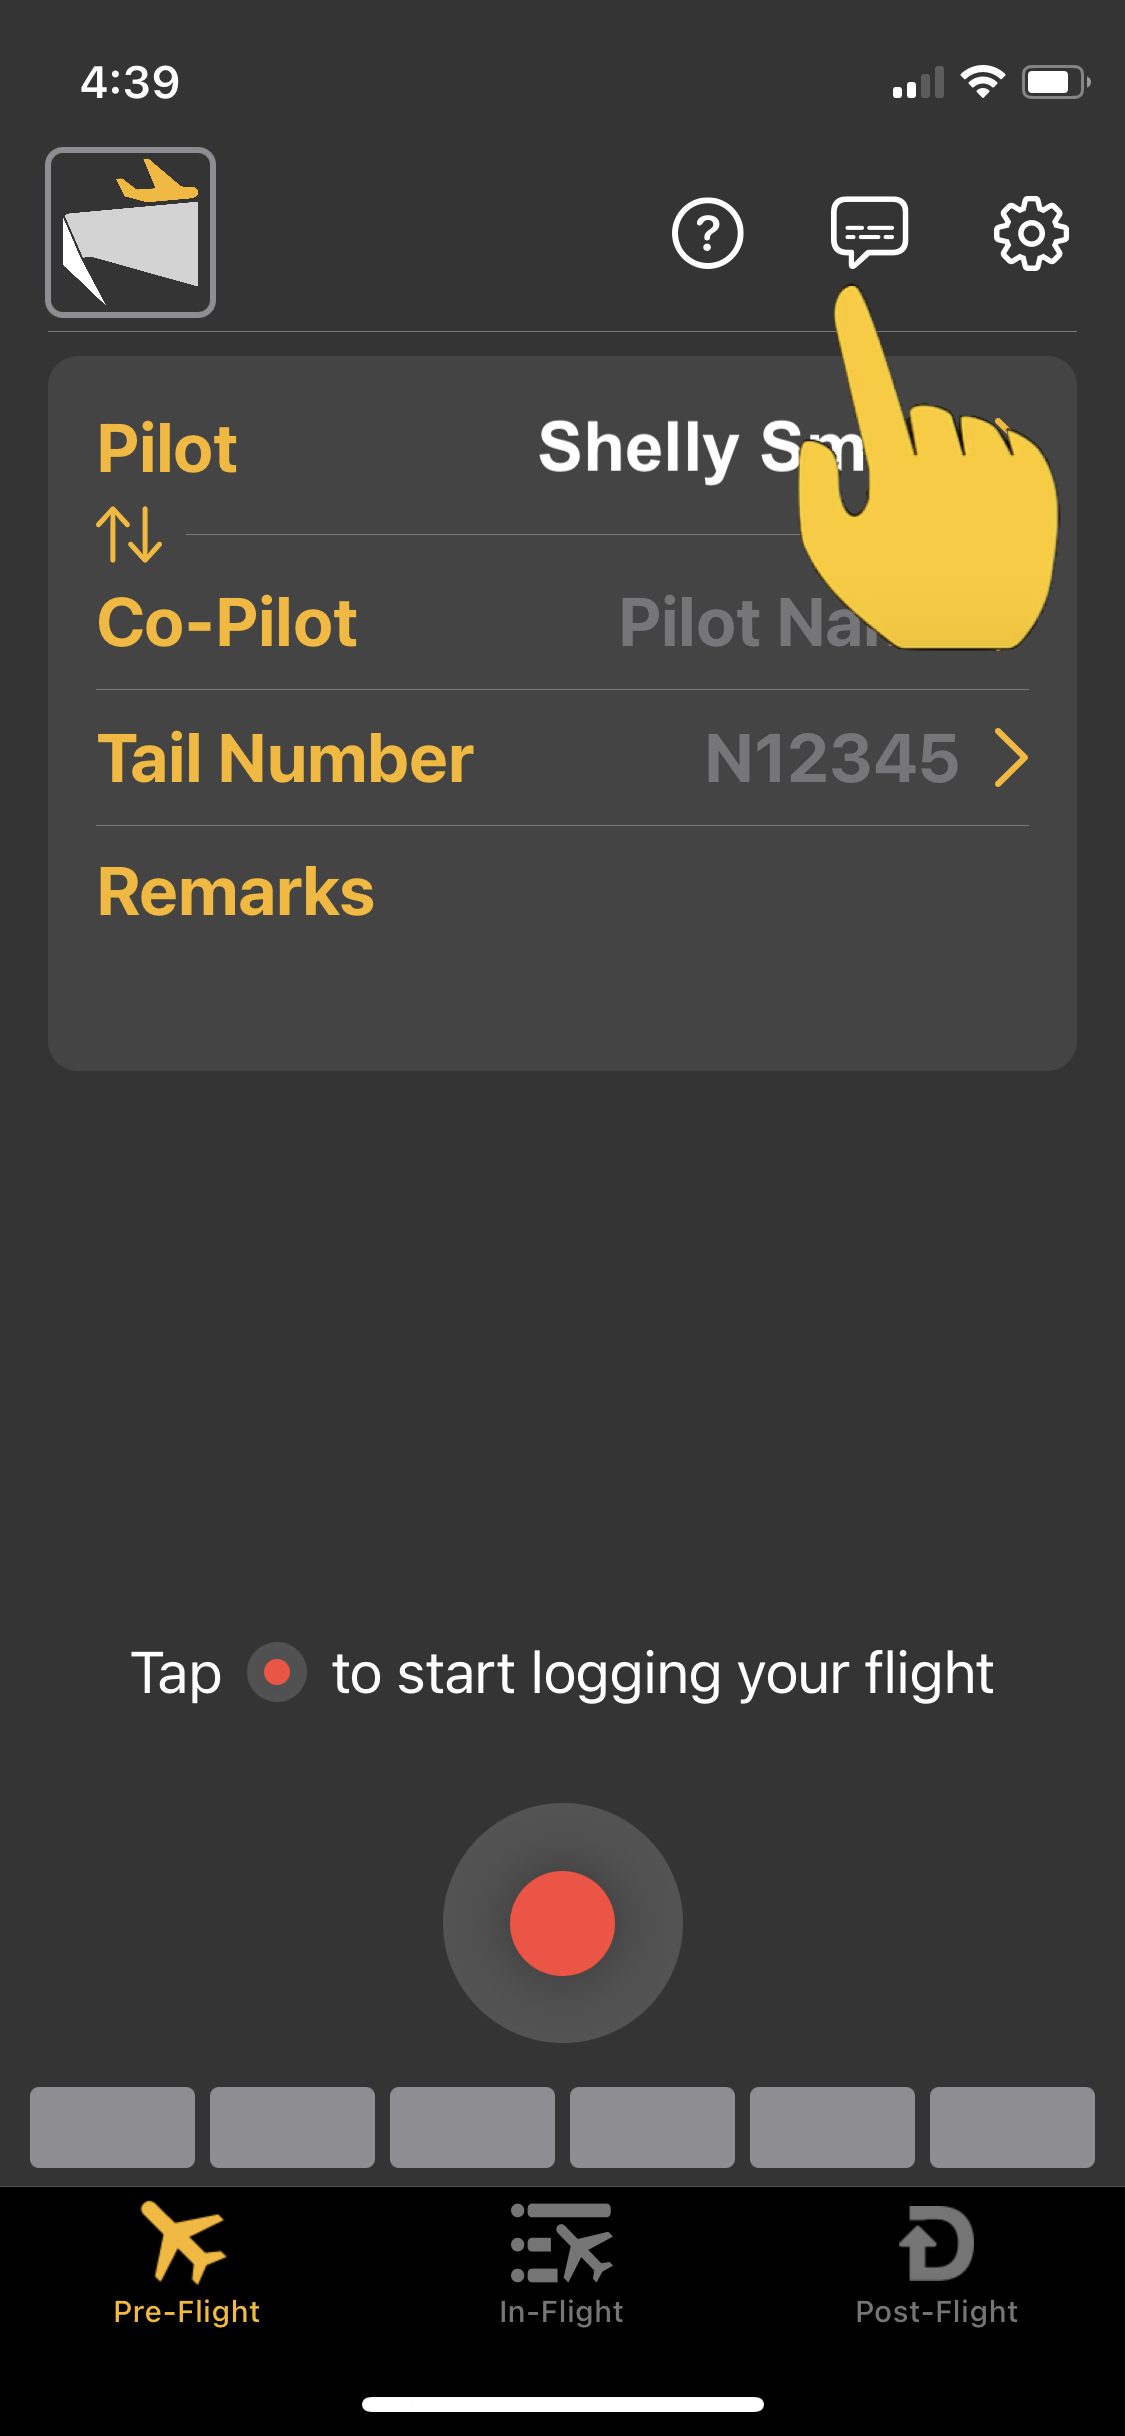
To log your flight, just click the red button. The logging will stop automatically, and the flight data will be uploaded to CloudAhoy server. 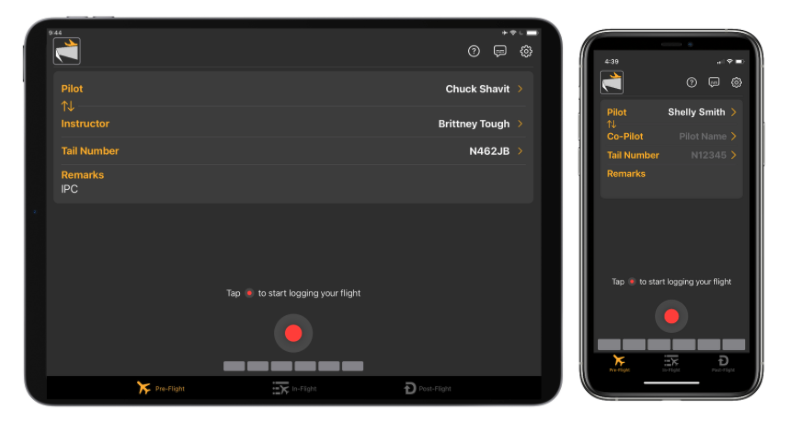
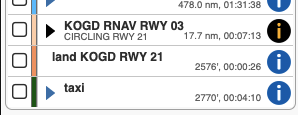
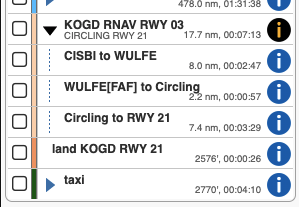
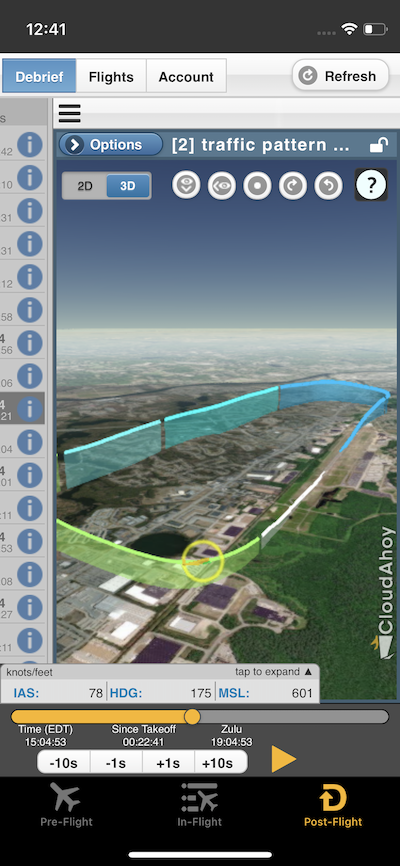
Immediately after landing, the flight is ready for debrief – just tap on the D icon which take you to the Post-Flight tab for debrief:


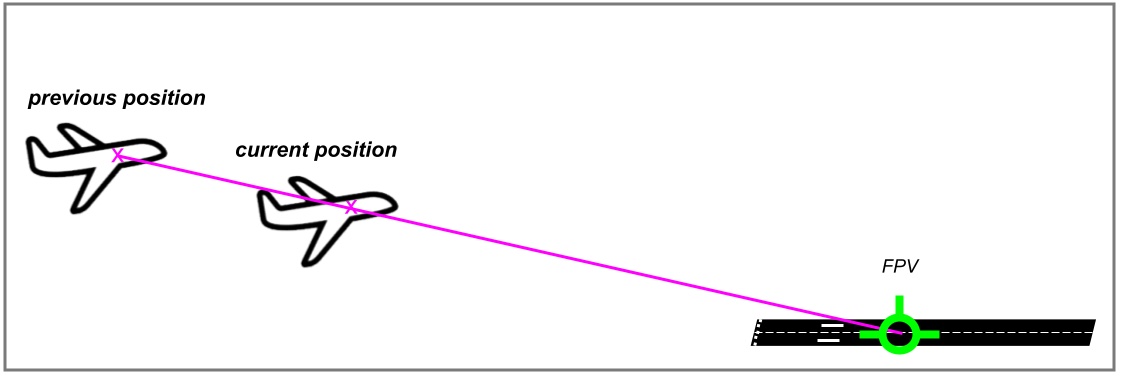
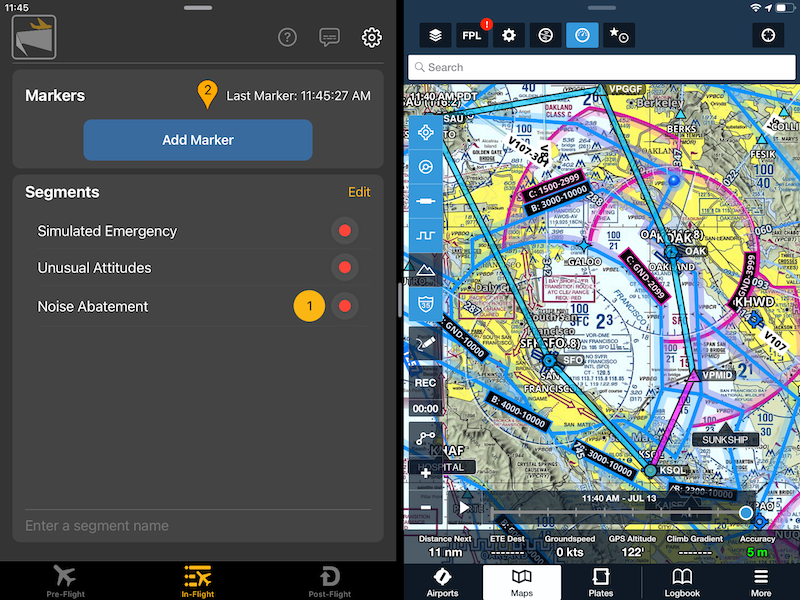
During the flight, you can use the In-Flight tab (previously called “CFI tab” in V5), to create markers during the flight – which will be displayed during the debrief. The In-Flight tab is available in both the iPhone and the iPad.
Enhancements in V6.0
CloudAhoy App V6.0 has a few enhancements:
- Multitasking:
CloudAhoy App V6 supports multitasking – running CloudAhoy side by side with other apps.
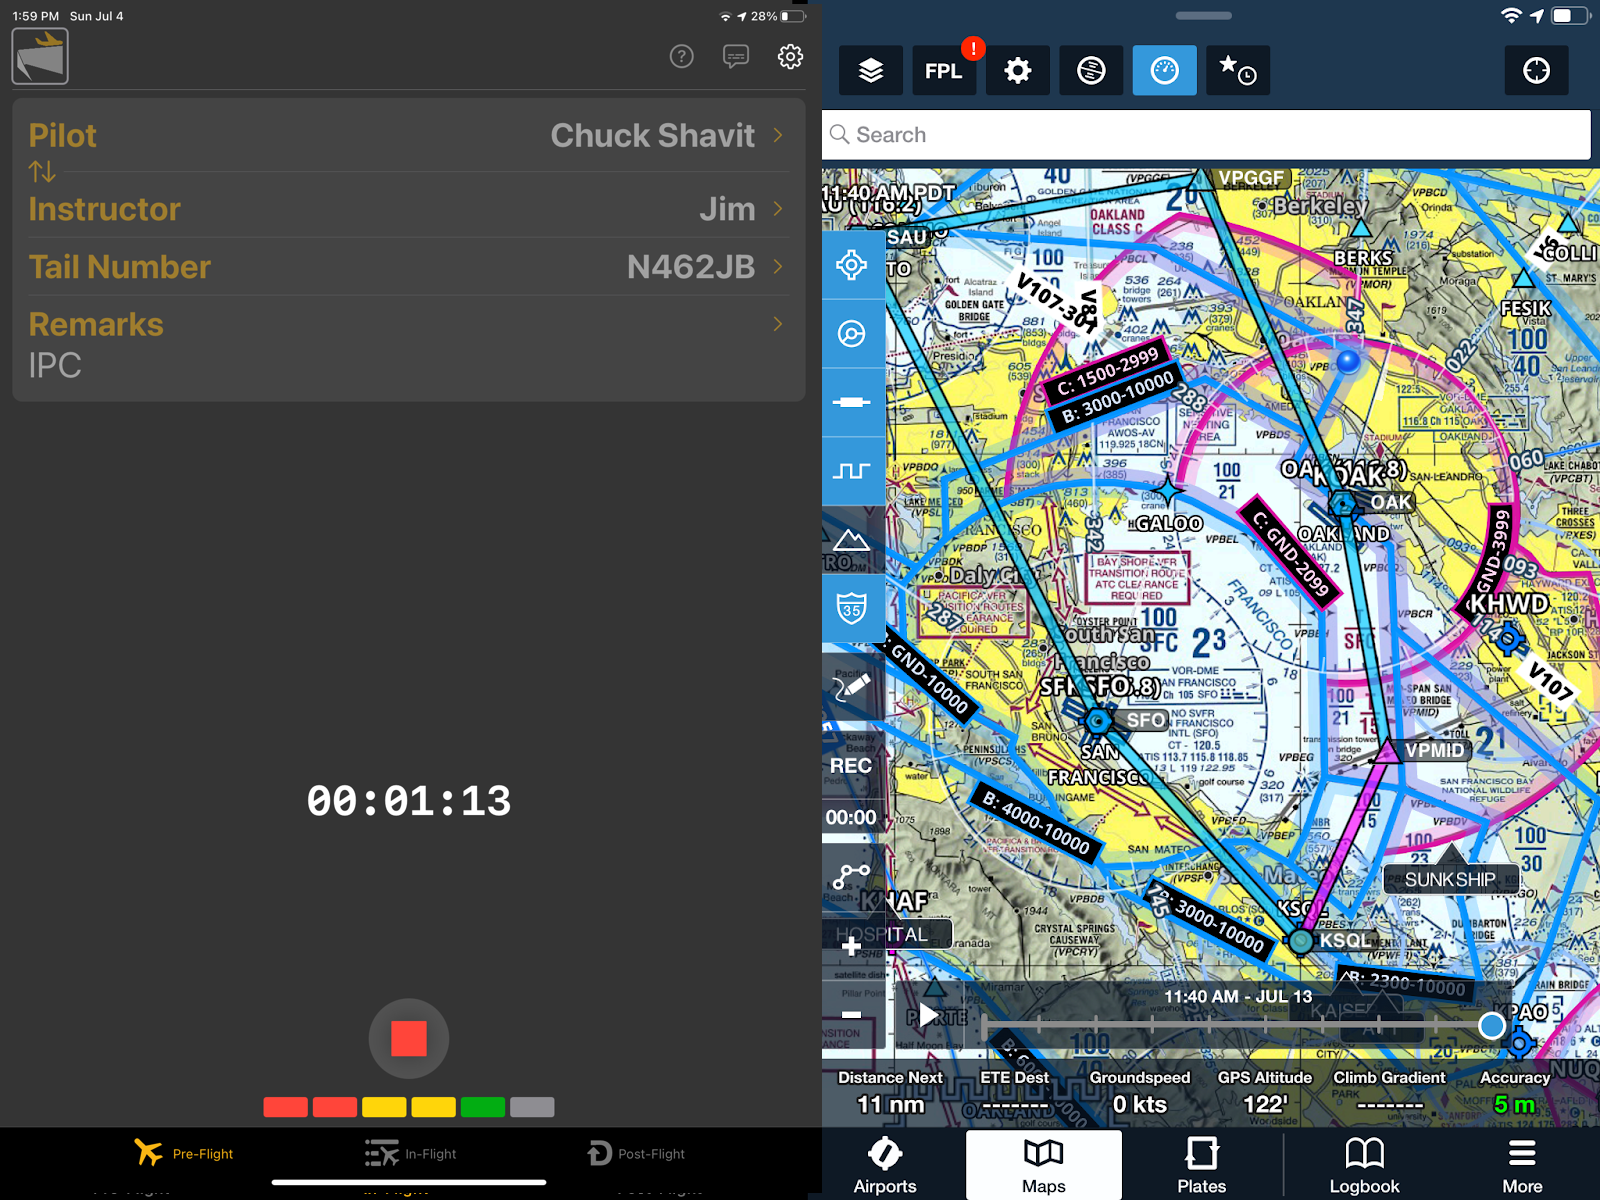
Multitasking is useful for using the In-Flight tab to create markers and custom segments during a flight, while using an EFB such as ForeFlight.
- Straight to debrief:
For those of you who use the app mostly for debrief and not for logging, you can set the “Post-Flight” tab to be the default when you open the app. To do so, tap on the Setting icon.
 .
. 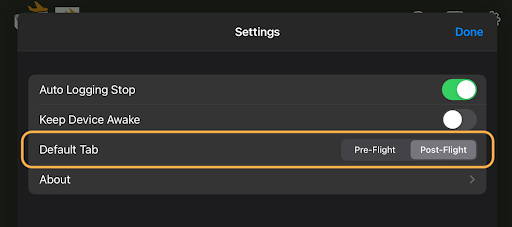
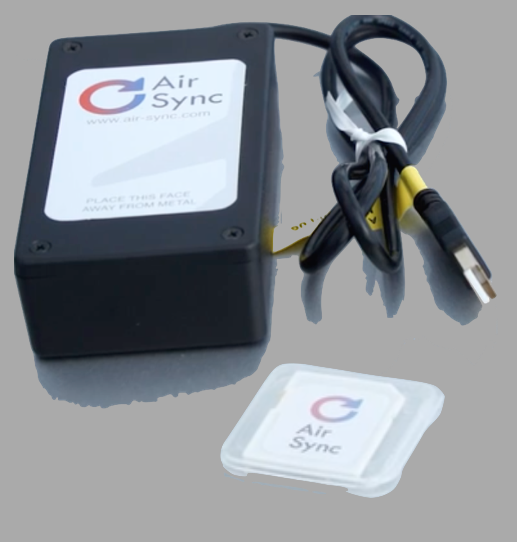
This is useful if you have a configuration in which flight data is uploaded automatically (e.g. using AirSync), thus – you are using CloudAhoy app for debriefing and not for logging.
- Location Services:
You can use the “While Using App” setting in iOS.
If you are not using the app for Logging – e.g. you are configured to automatically upload with AirSync, or you import flights using SD card – you can use “Never”.
- Organization branding:
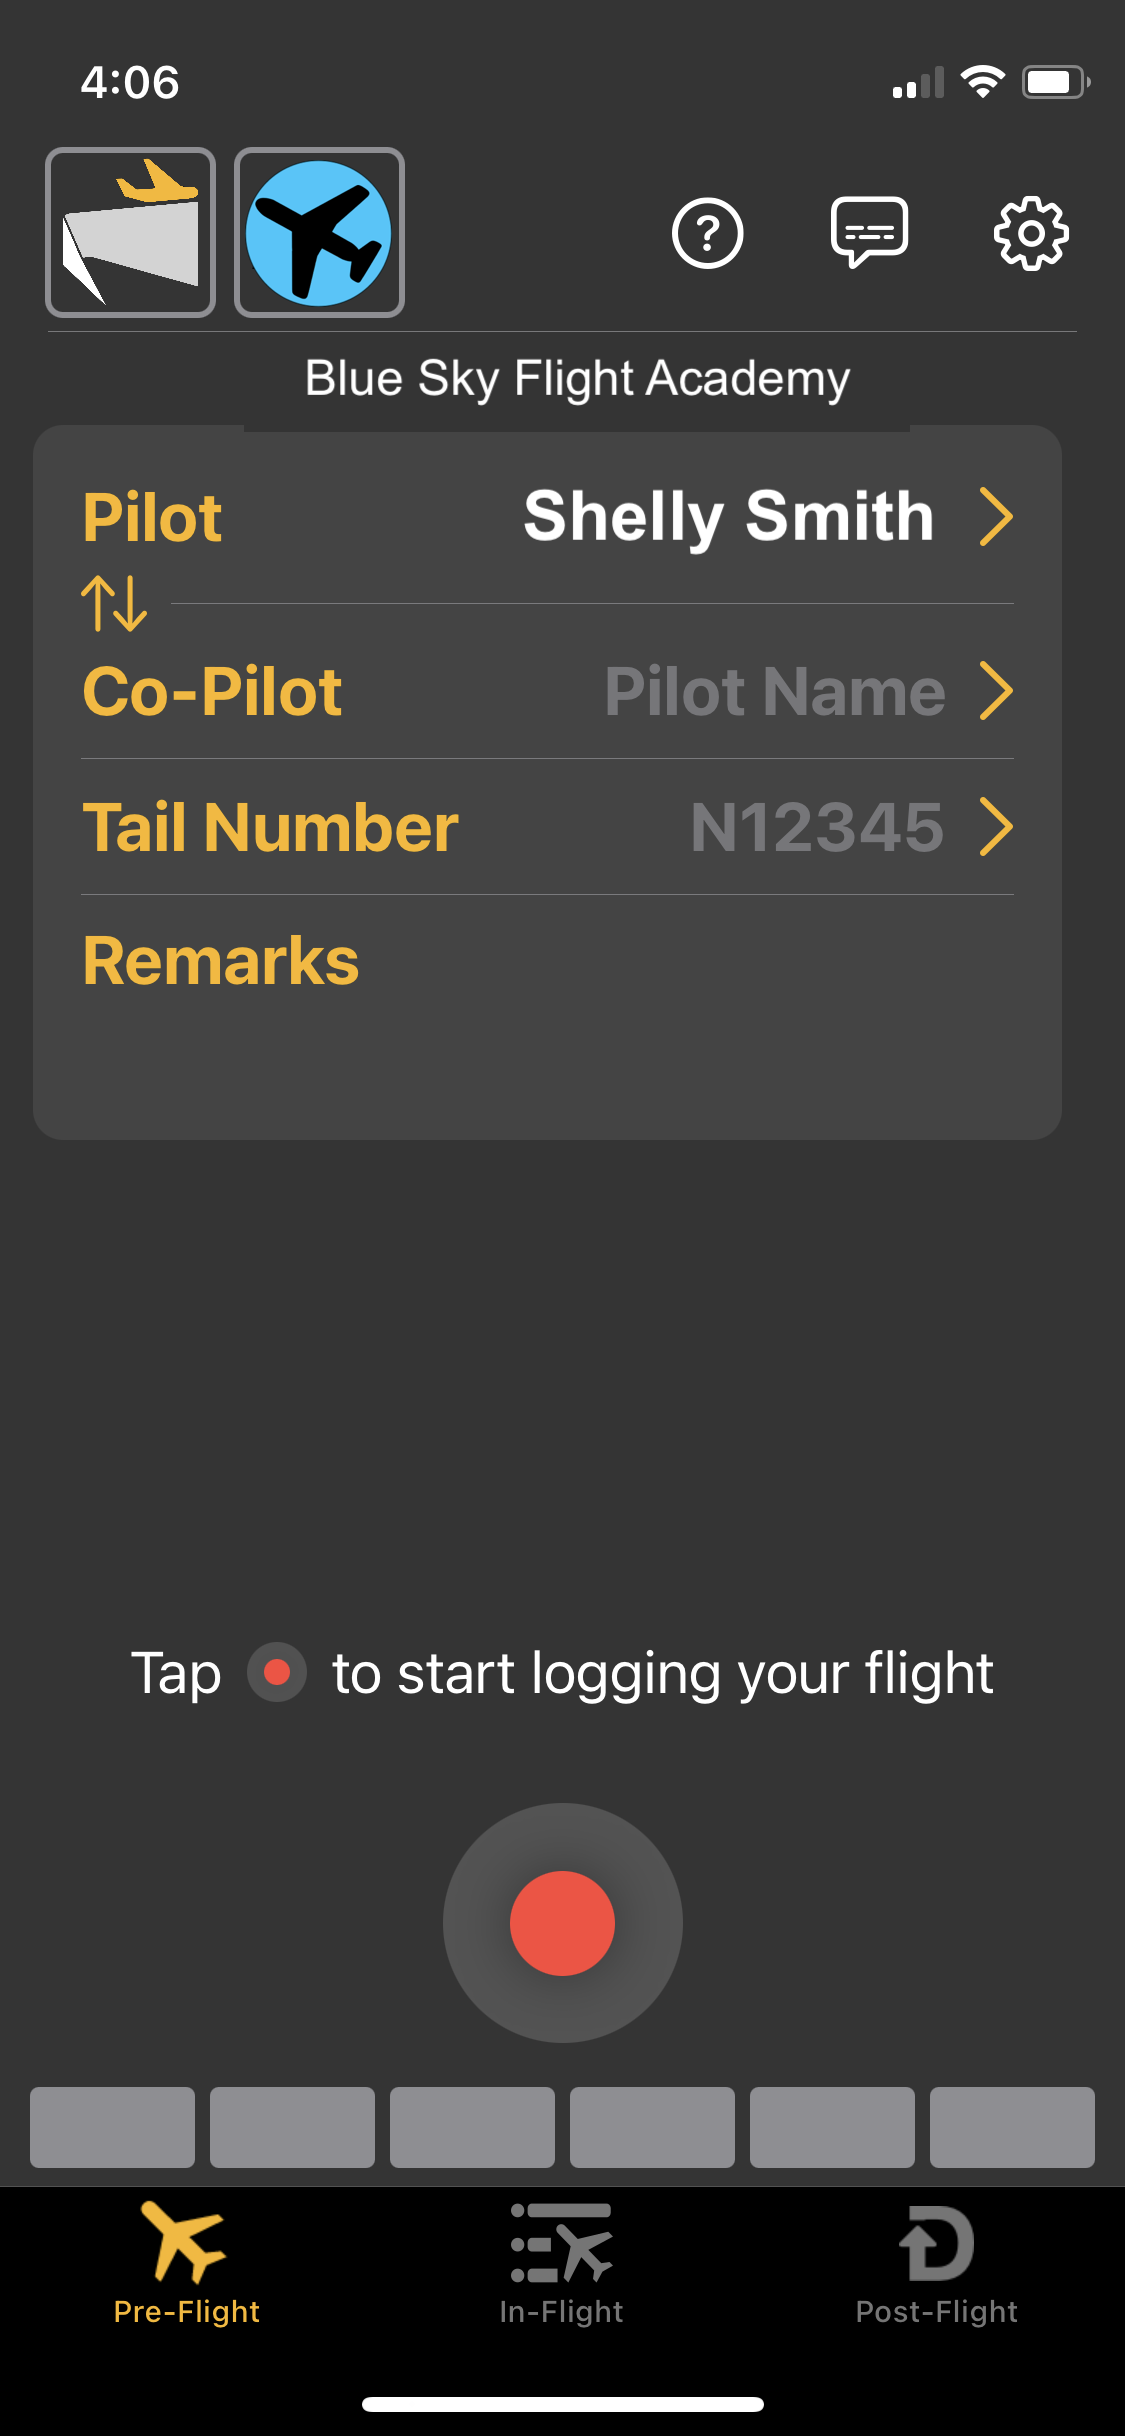
Users who belong to an organization will see their organization’s logo alongside the CloudAhoy logo.
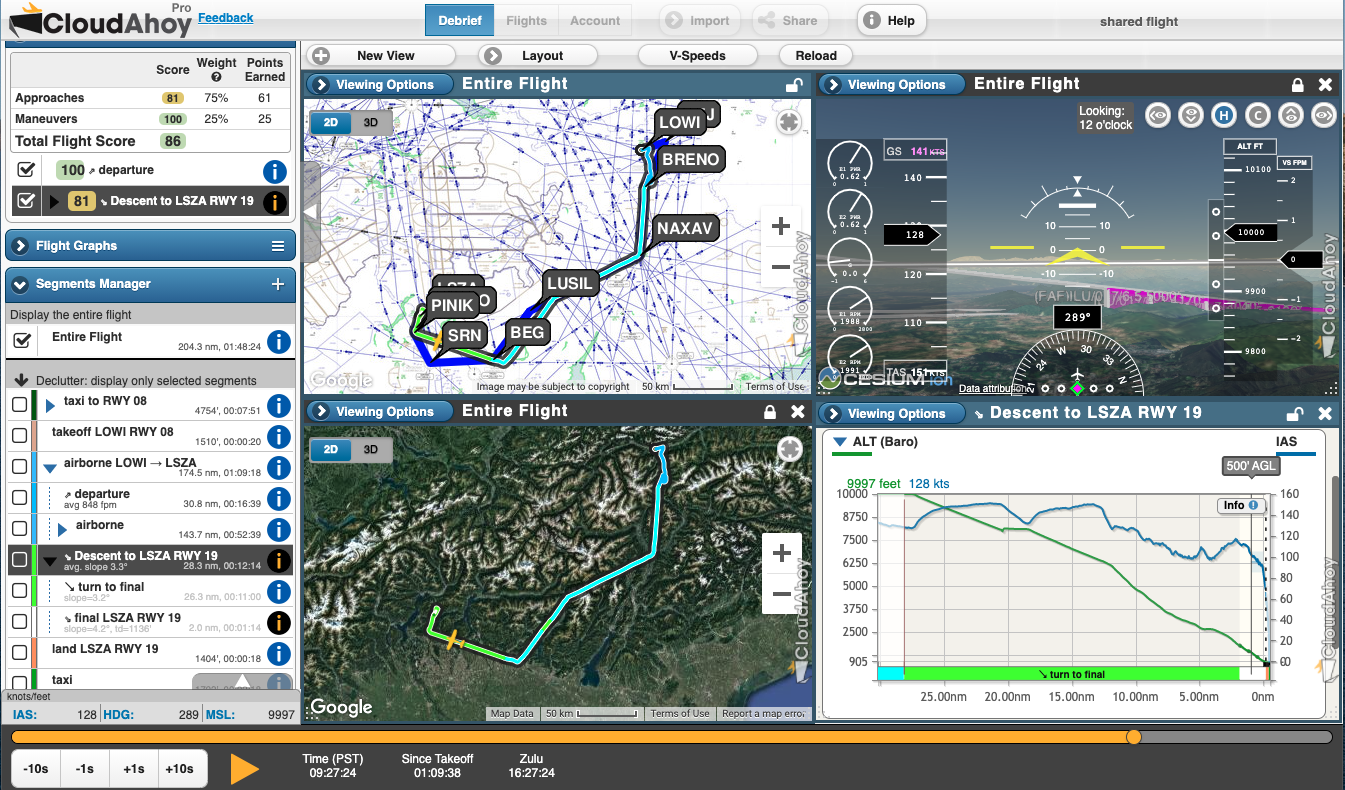
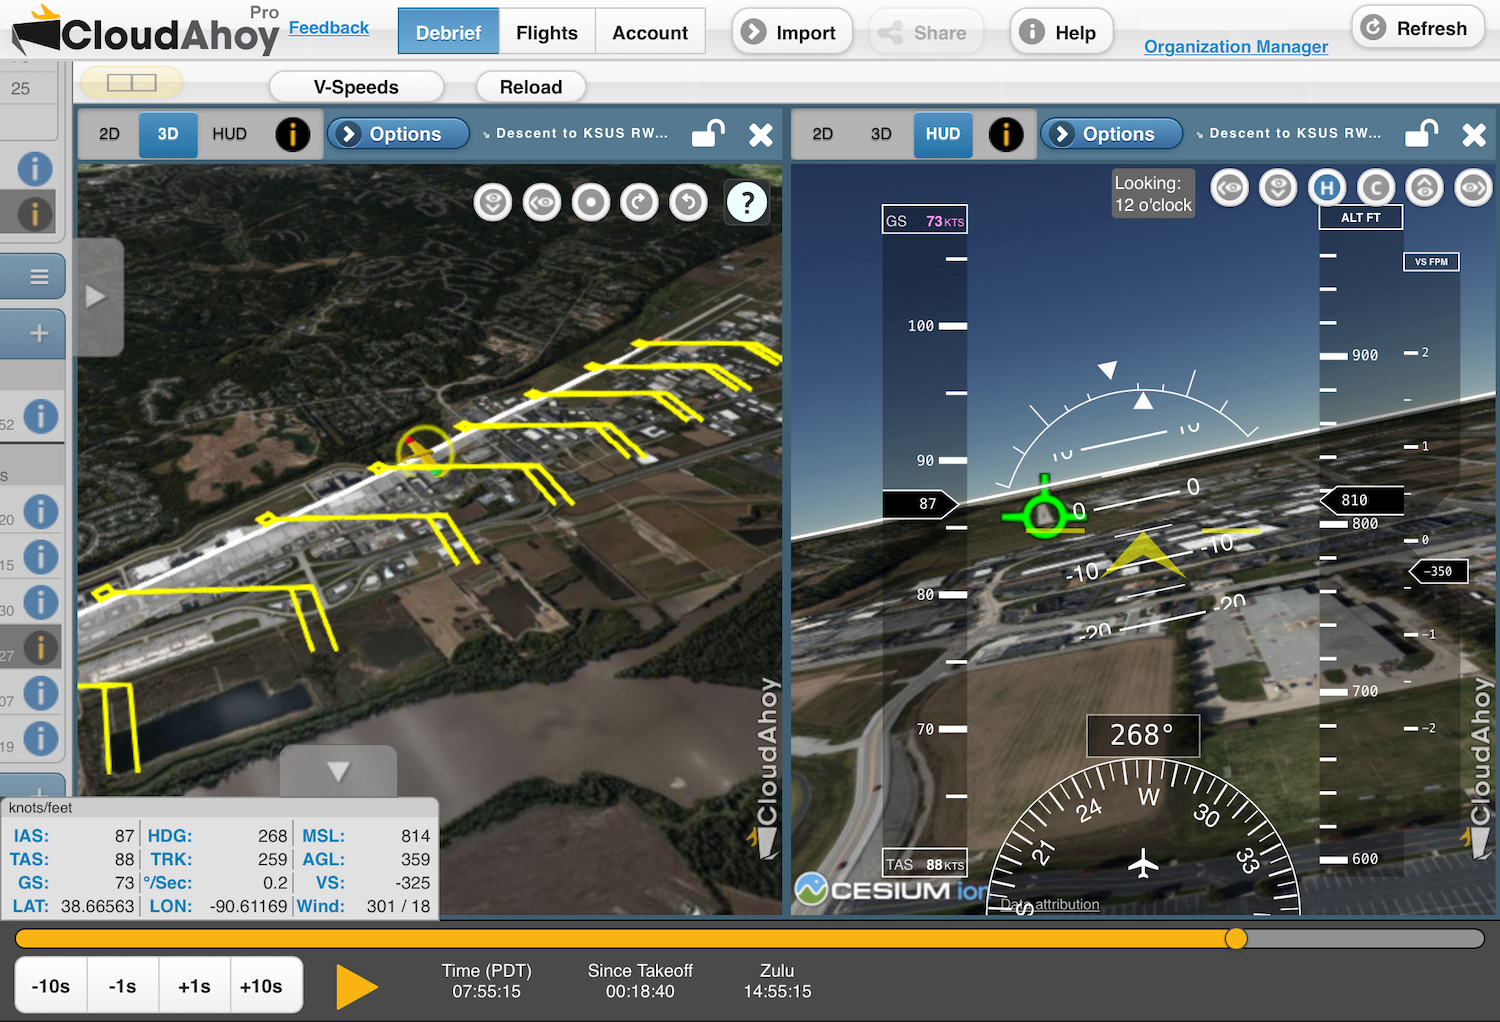
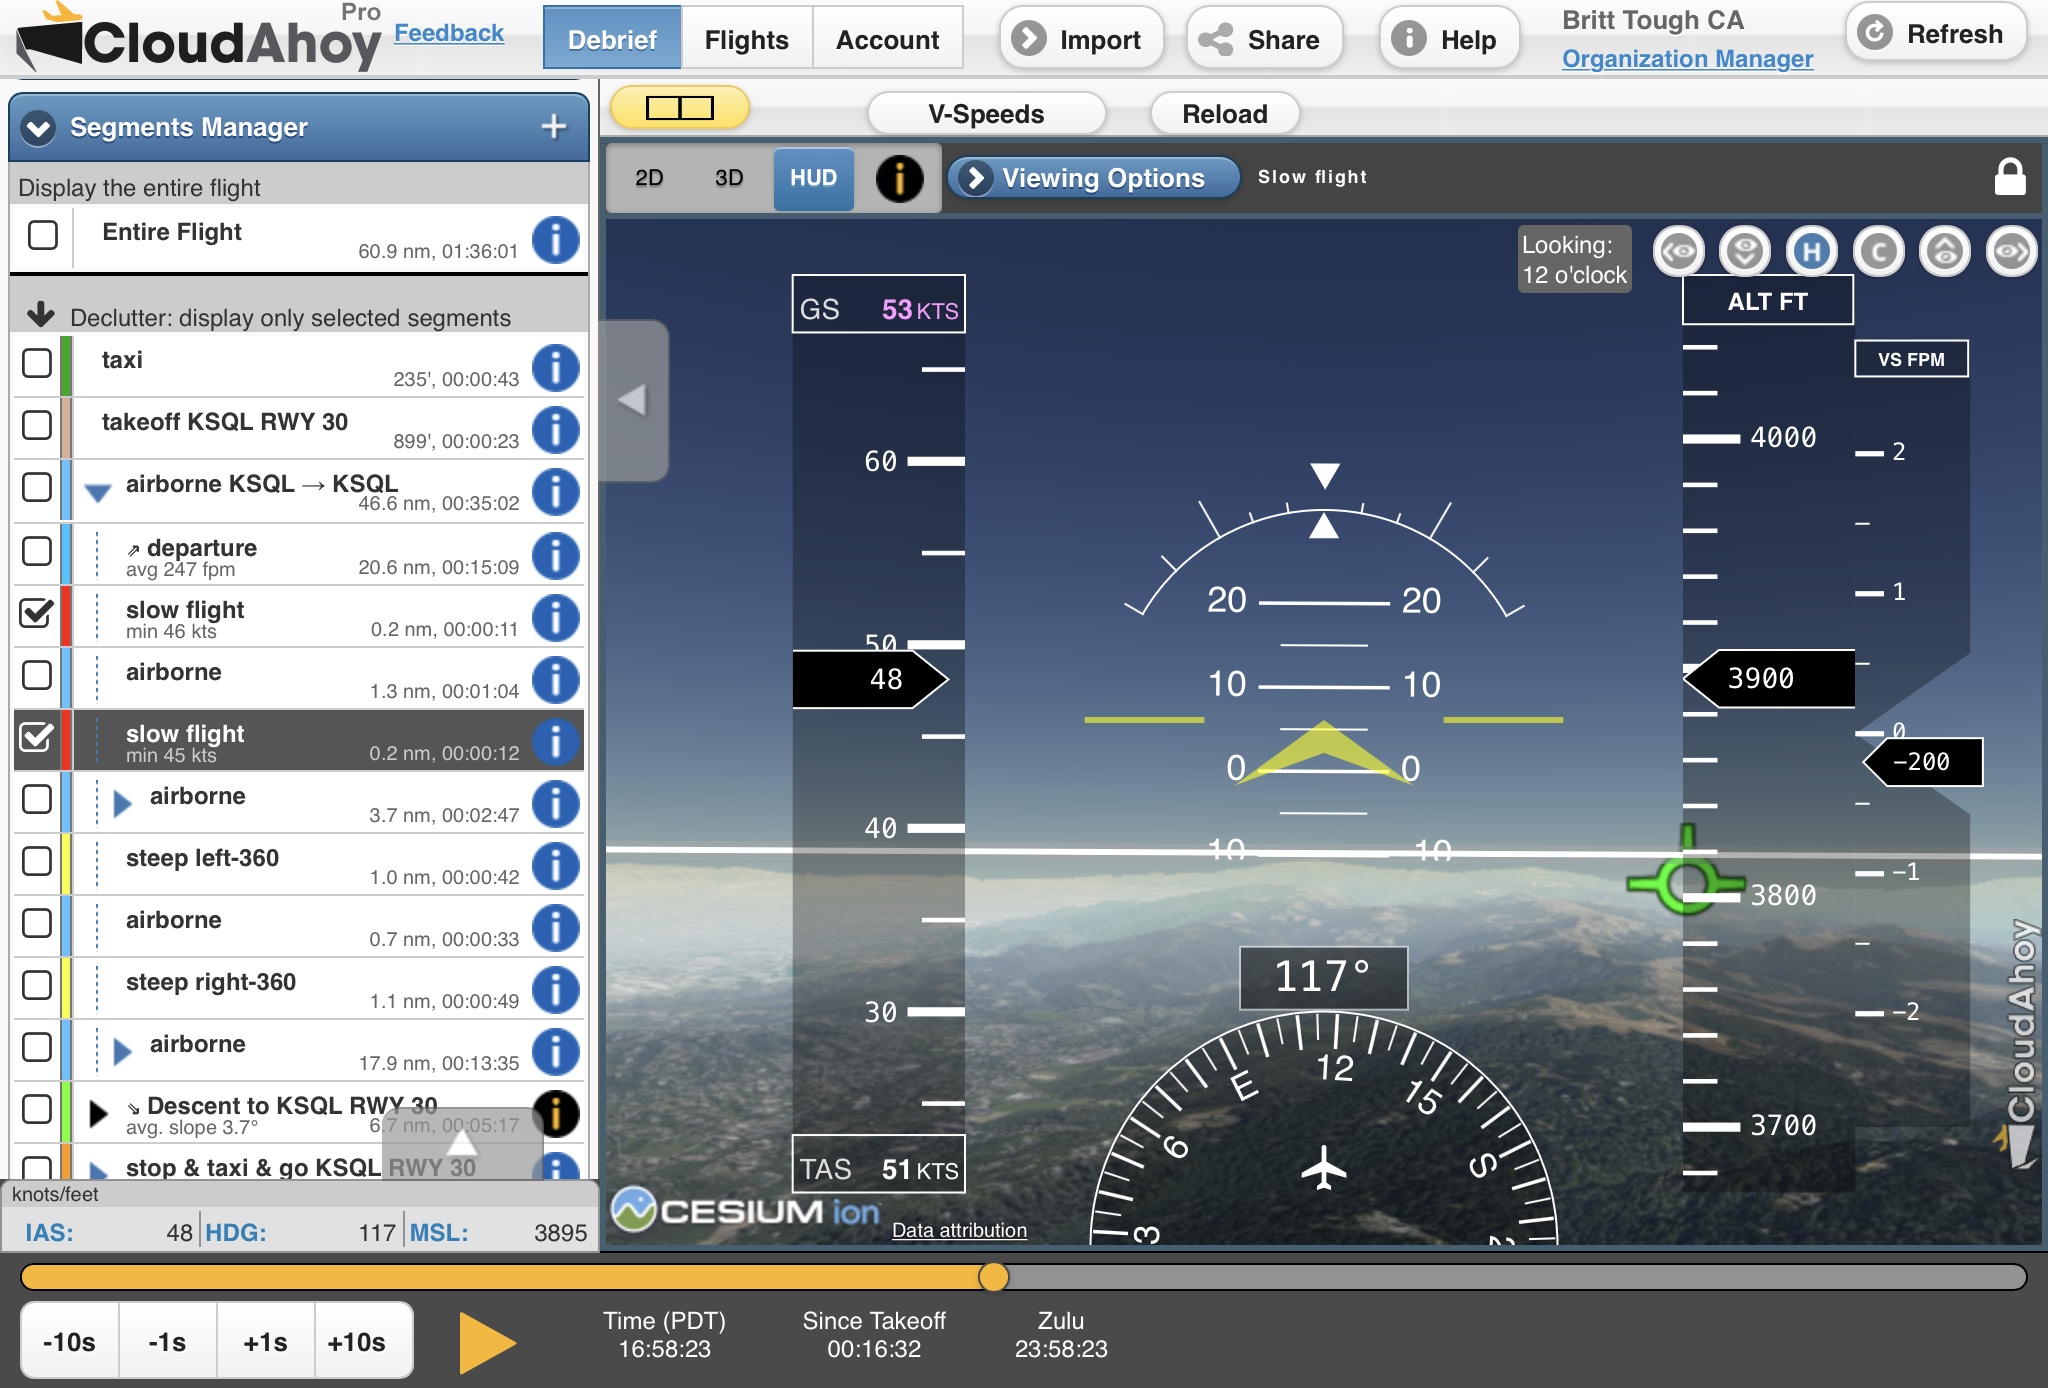
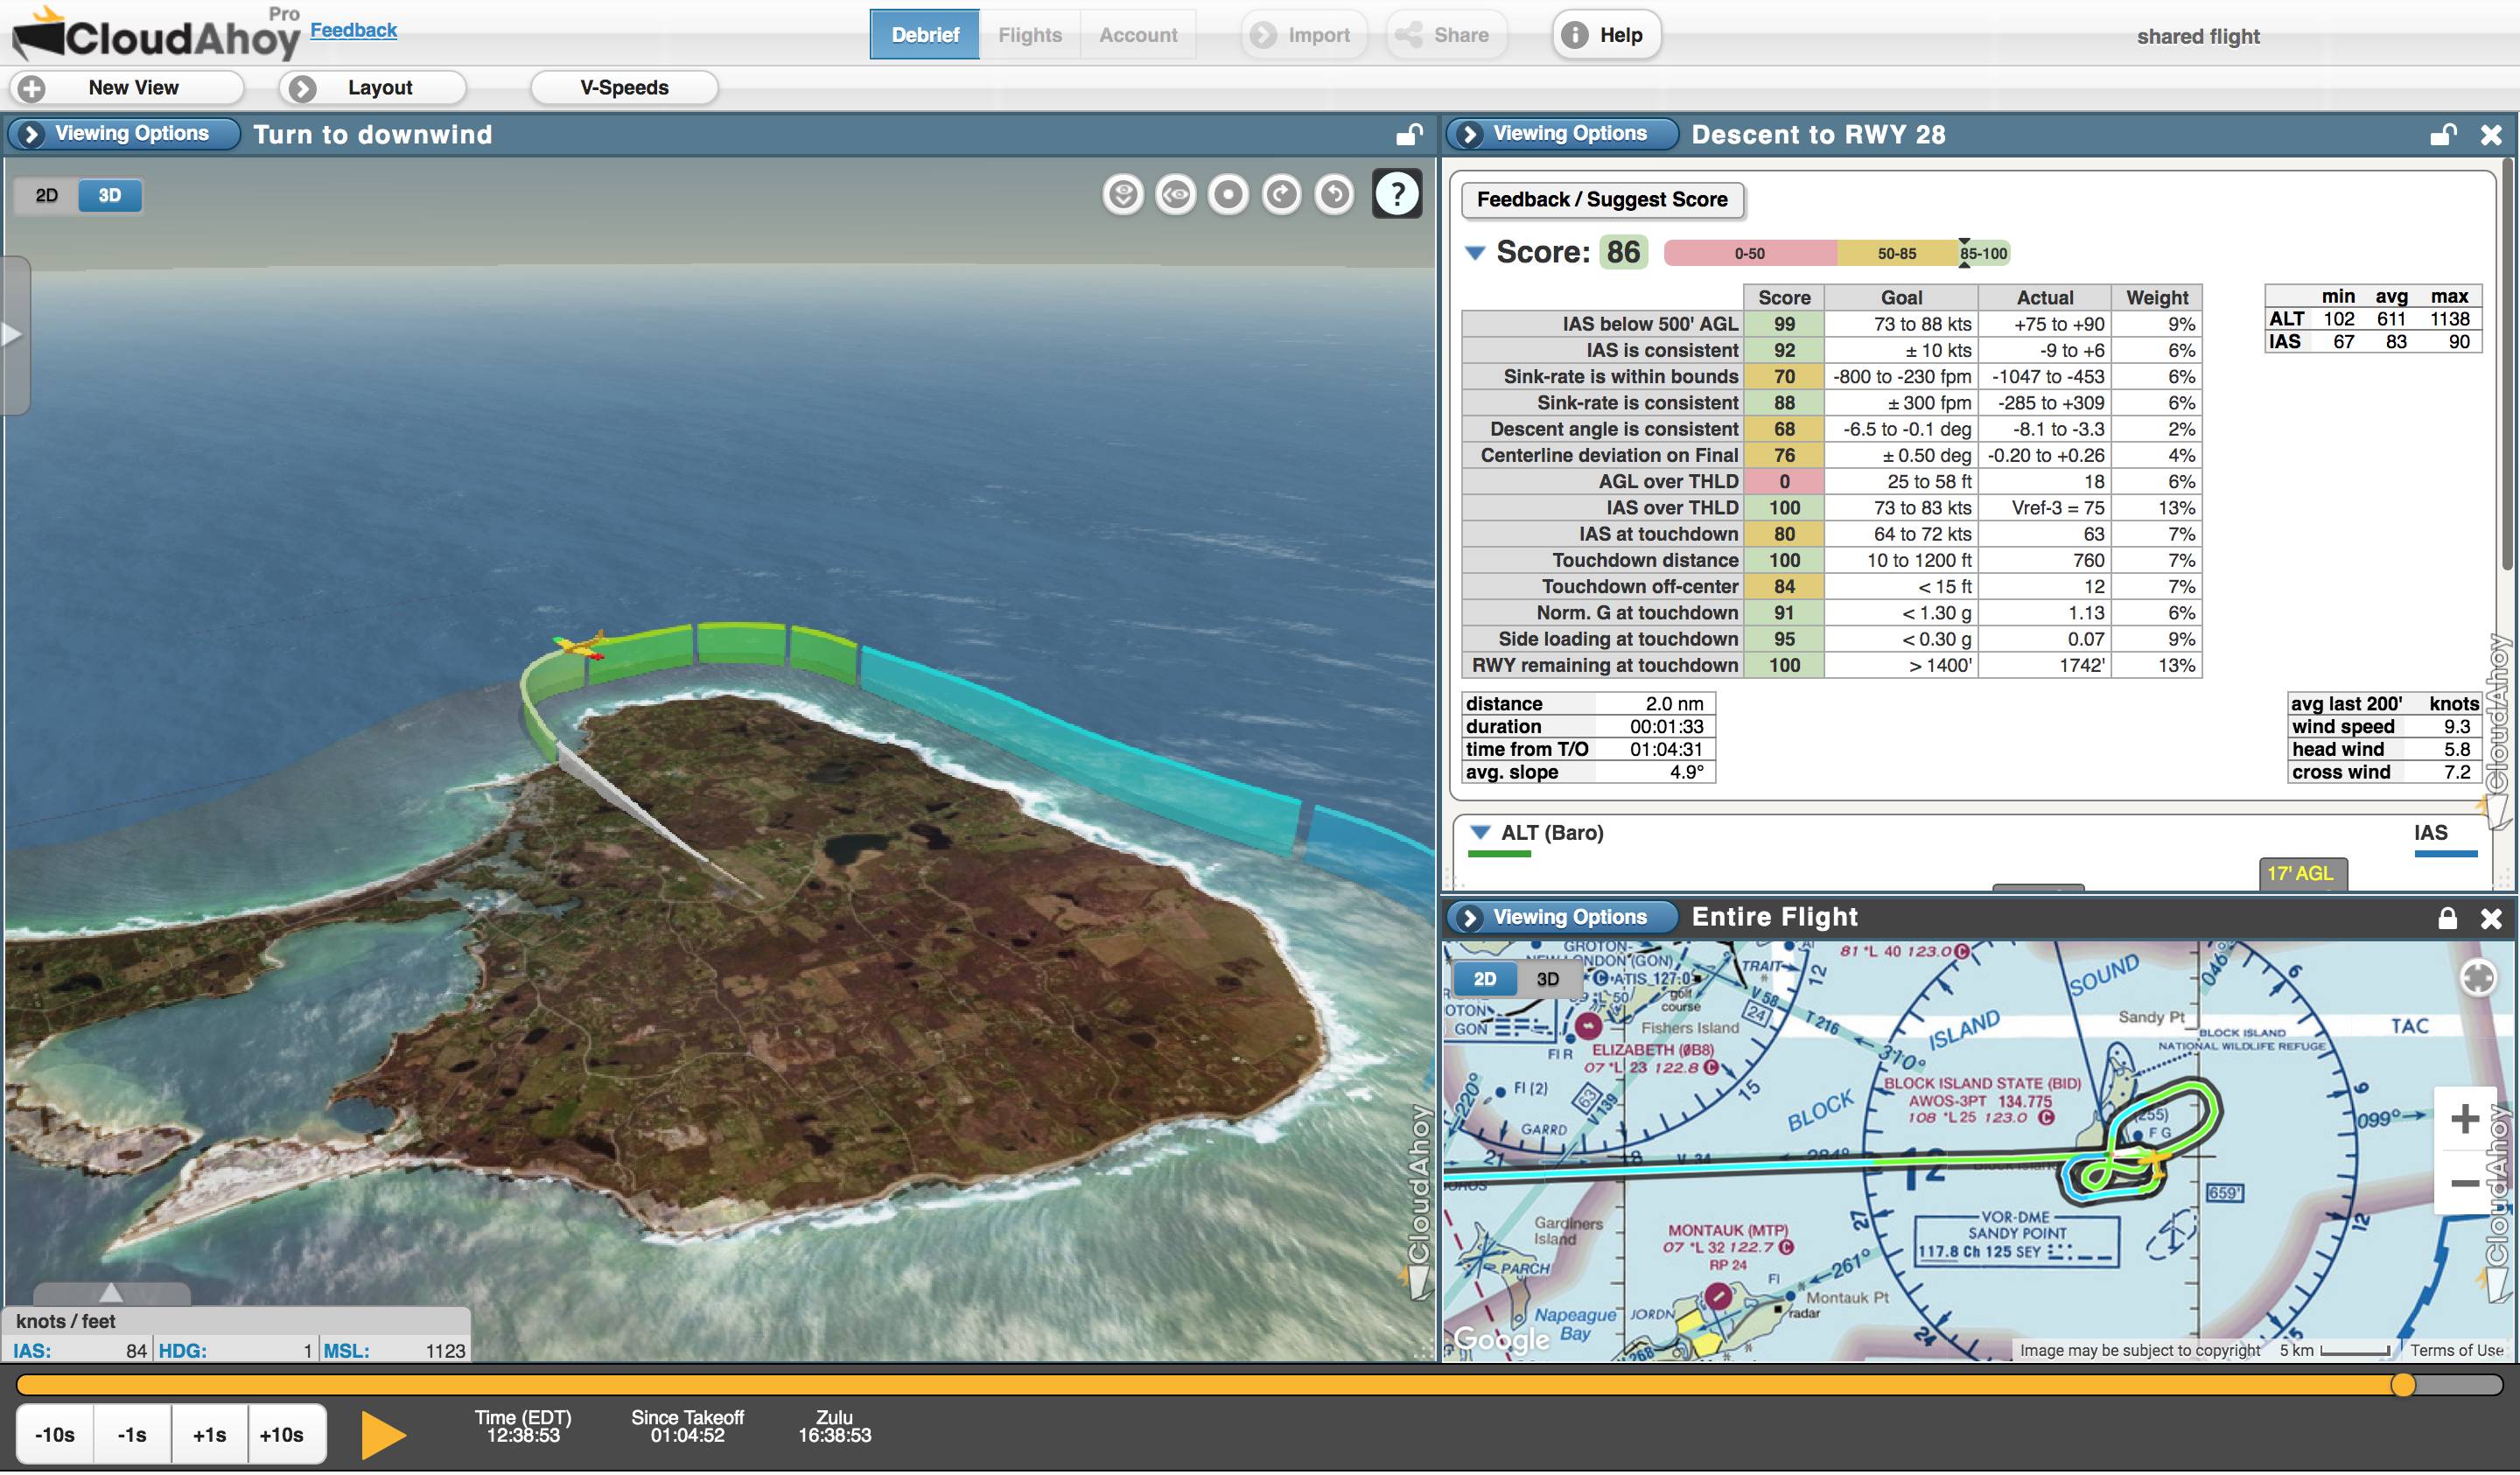
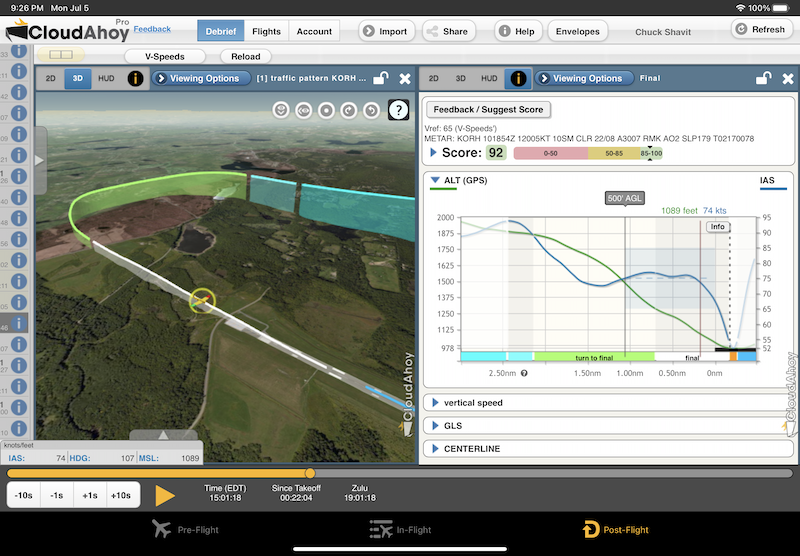
Note about Debrief Tab
Debriefing inside the V6 app is exactly the same as in V5.
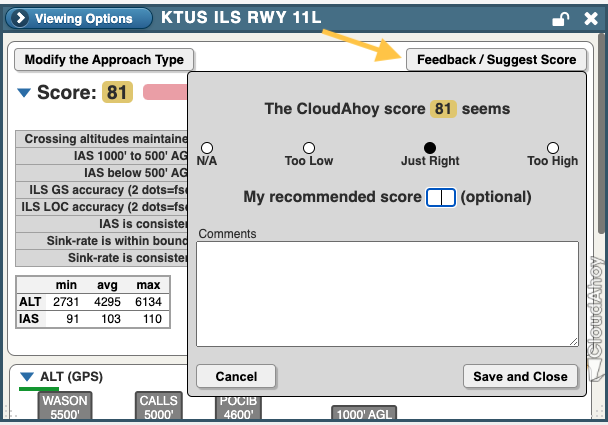
Feedback? Questions? Suggestions?
All feedback is welcome!
Click the Feedback icon or send email to Team@Cloudahoy.com.
Fun Fact
When Chuck Shavit started to write code for what would later become CloudAhoy, the first thing he wrote was the app. At the time it was on an iPhone 3 🙂
With the release of V6 of the app, the very first lines of code ever written for CloudAhoy are now retiring!
Throwback image:
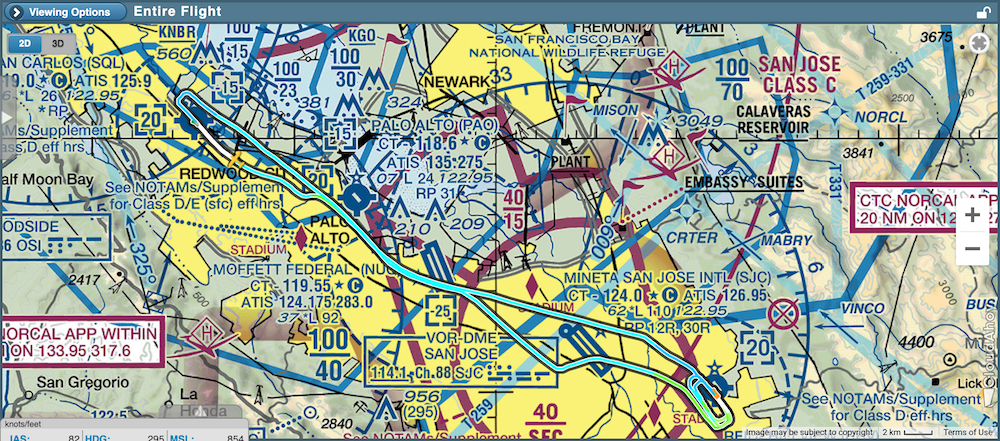
CloudAhoy in 2013